Your pool has been the centerpiece of countless summer gatherings, but lately, you've noticed the surface looking worn, stained, or rough. Those once-smooth walls now feel like sandpaper against your skin, and the vibrant blue has faded to a dull gray. If this sounds familiar, it's time to consider pool resurfacing.
Pool resurfacing involves removing the old surface material and applying a fresh new finish to restore your pool's appearance and functionality. This comprehensive process can transform an aging, deteriorated pool back into the sparkling oasis you remember. Understanding what's involved helps you make informed decisions about timing, materials, and whether to tackle the project yourself or hire professionals.
This guide walks you through everything you need to know about pool resurfacing, from recognizing when it's time for a refresh to selecting the right materials for your specific needs and climate.
What Is Pool Resurfacing?
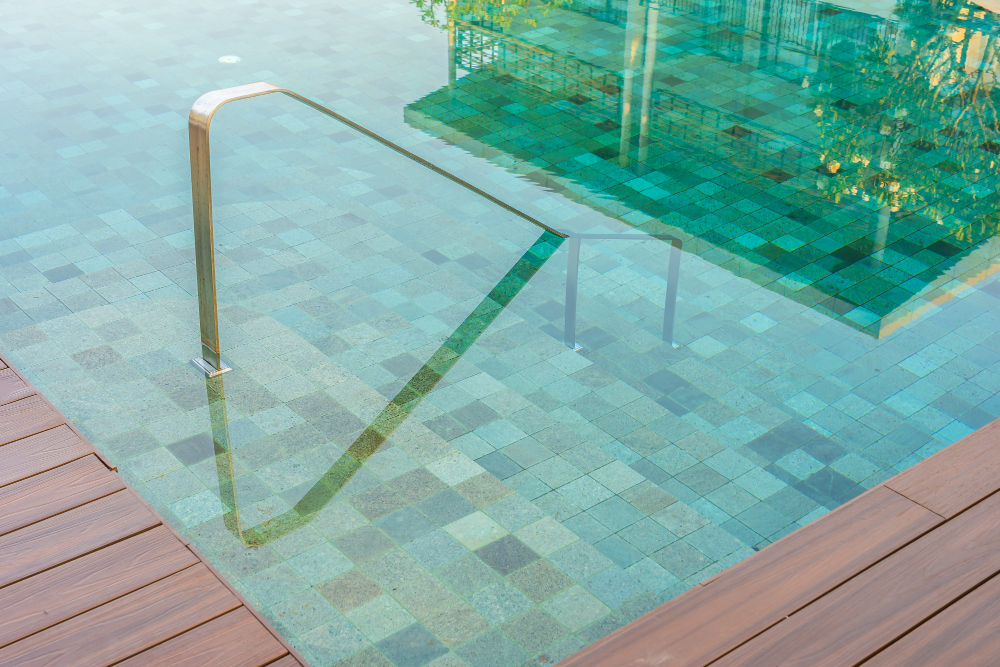
Pool resurfacing is the process of removing the existing interior finish of your swimming pool and applying a new surface material. The original surface, typically plaster, aggregate, or tile, gets stripped away down to the underlying structure, usually made of concrete or gunite.
Once the old material is removed, contractors prepare the surface by cleaning, repairing any structural issues, and ensuring proper adhesion for the new finish. They then apply the chosen resurfacing material, whether it's traditional white plaster, colored plaster, aggregate finishes, or premium options like glass beads or natural stone.
The entire process typically takes one to two weeks, depending on the size of your pool, the chosen materials, and weather conditions. During this time, your pool will be completely drained and unusable.
Signs Your Pool Needs Resurfacing
Recognizing when your pool requires resurfacing helps prevent more costly repairs down the road. Several clear indicators suggest it's time to start planning this project.
Surface Roughness and Staining
A properly finished pool surface should feel smooth to the touch. If you notice rough patches, especially ones that catch or scrape against your skin, the surface has likely worn down significantly. Persistent stains that don't respond to regular cleaning also indicate the surface has become porous and is absorbing contaminants.
Visible Cracks and Chips
Small hairline cracks might seem cosmetic, but they can allow water to seep behind the surface material, leading to more extensive damage. Chips and larger cracks definitely require attention, as they can expand and compromise the pool's structural integrity.
Frequent Chemical Imbalances
An aging pool surface can affect your water chemistry. If you find yourself constantly adjusting pH levels or dealing with algae blooms despite proper maintenance, the deteriorated surface might be contributing to these issues.
Age of Current Surface
Most pool surfaces last 10-15 years with proper care. If your pool hasn't been resurfaced within this timeframe and shows other signs of wear, it's wise to start planning for resurfacing before problems become severe.
Pool Resurfacing Materials: Your Options
Choosing the right resurfacing material depends on your budget, aesthetic preferences, and long-term maintenance goals. Each option offers distinct advantages and considerations.
White Plaster
Traditional white plaster remains the most economical choice for pool resurfacing. Made from white cement, marble dust, and water, it provides a classic, clean appearance that works well with any pool design. White plaster typically lasts 7-10 years and costs significantly less than premium alternatives.
However, white plaster is more prone to staining and may require more frequent maintenance to keep it looking pristine. It's also the most porous of the available options.
Colored Plaster
Colored plaster adds visual interest while maintaining the affordability of traditional plaster. Available in various shades, it can complement your landscaping or create specific aesthetic effects. Darker colors tend to hide stains better than white plaster.
The longevity and maintenance requirements are similar to white plaster, but colored options may fade over time, especially in areas with intense sun exposure.
Aggregate Finishes
Aggregate finishes combine plaster with materials like quartz, glass beads, or natural stones, creating more durable and visually appealing surfaces. These finishes typically last 12-15 years and resist staining better than plain plaster.
Popular aggregate options include:
- Quartz finishes: Offer excellent durability and come in many colors
- Glass bead finishes: Provide a shimmering, luxurious appearance
- Natural stone aggregates: Give pools an organic, sophisticated look
While more expensive than plaster, aggregate finishes often provide better long-term value due to their extended lifespan and reduced maintenance needs.
Tile and Natural Stone
For the ultimate in luxury and longevity, tile and natural stone offer unmatched beauty and durability. These materials can last 20-25 years or more with proper care. Options include ceramic tile, natural stone like travertine or slate, and glass tile.
The primary drawbacks are higher upfront costs and more complex installation requirements. However, for homeowners planning to stay in their homes long-term, these materials often provide excellent value.
The Pool Resurfacing Process
Understanding what happens during pool resurfacing helps you prepare for the project and know what to expect from your contractor.
Draining and Preparation
The process begins with completely draining your pool. Contractors then remove the old surface material using specialized equipment like pneumatic chippers or sandblasters. This stage is messy and noisy but crucial for proper adhesion of the new surface.
Surface Inspection and Repairs
With the old material removed, contractors can inspect the underlying structure for cracks, hollow spots, or other issues. They'll make necessary repairs to ensure a solid foundation for the new surface.
Cleaning and Priming
The exposed surface gets thoroughly cleaned to remove all debris, dust, and residue. Depending on the chosen material, contractors may apply a bonding agent to improve adhesion.
Application of New Surface
The actual resurfacing varies depending on the chosen material. Plaster applications involve mixing the material on-site and applying it by hand with trowels. Aggregate finishes require additional steps to expose the decorative elements properly.
Curing and Filling
After application, the new surface needs time to cure properly. This process can take several days to a week, depending on weather conditions and the specific material used. Once cured, the pool gets filled with water.
Startup and Balancing
The final step involves starting up the pool equipment and carefully balancing the water chemistry. New surfaces require special attention during the first few weeks to ensure proper curing and longevity.
DIY vs. Professional Installation
While some pool maintenance tasks are suitable for DIY enthusiasts, pool resurfacing typically requires professional expertise and specialized equipment.
Professional contractors bring several advantages: they have the proper tools for surface removal and application, understand local building codes and permit requirements, carry insurance for potential issues, and provide warranties on their work. They also complete the project much faster than most homeowners could manage.
The complexity of achieving a smooth, even finish and the potential for costly mistakes usually make professional installation the wise choice for pool resurfacing projects.
Maintenance Tips for Your New Pool Surface
Proper maintenance extends the life of your newly resurfaced pool and keeps it looking beautiful for years to come.
During the first month, brush the surface daily with a soft-bristled brush to remove any loose particles. Avoid using automatic cleaners for the first few weeks to prevent damage to the curing surface.
Maintain proper water chemistry by testing and adjusting pH, alkalinity, and sanitizer levels regularly. Balanced water prevents staining and premature deterioration of the surface material.
Regular brushing and skimming remove debris before it can stain or damage the surface. Address any stains promptly using appropriate cleaning methods for your specific surface material.
Making Your Pool Beautiful Again
Pool resurfacing represents a significant investment in your property's value and your family's enjoyment. By understanding the process, materials, and maintenance requirements, you can make informed decisions that provide years of swimming pleasure.
The right surface material, properly installed and maintained, transforms an aging pool into a stunning backyard feature that enhances both your lifestyle and property value.
If you need professional pool resurfacing in Orlando, FL, contact All Phase Pool Remodeling today for free estimates.