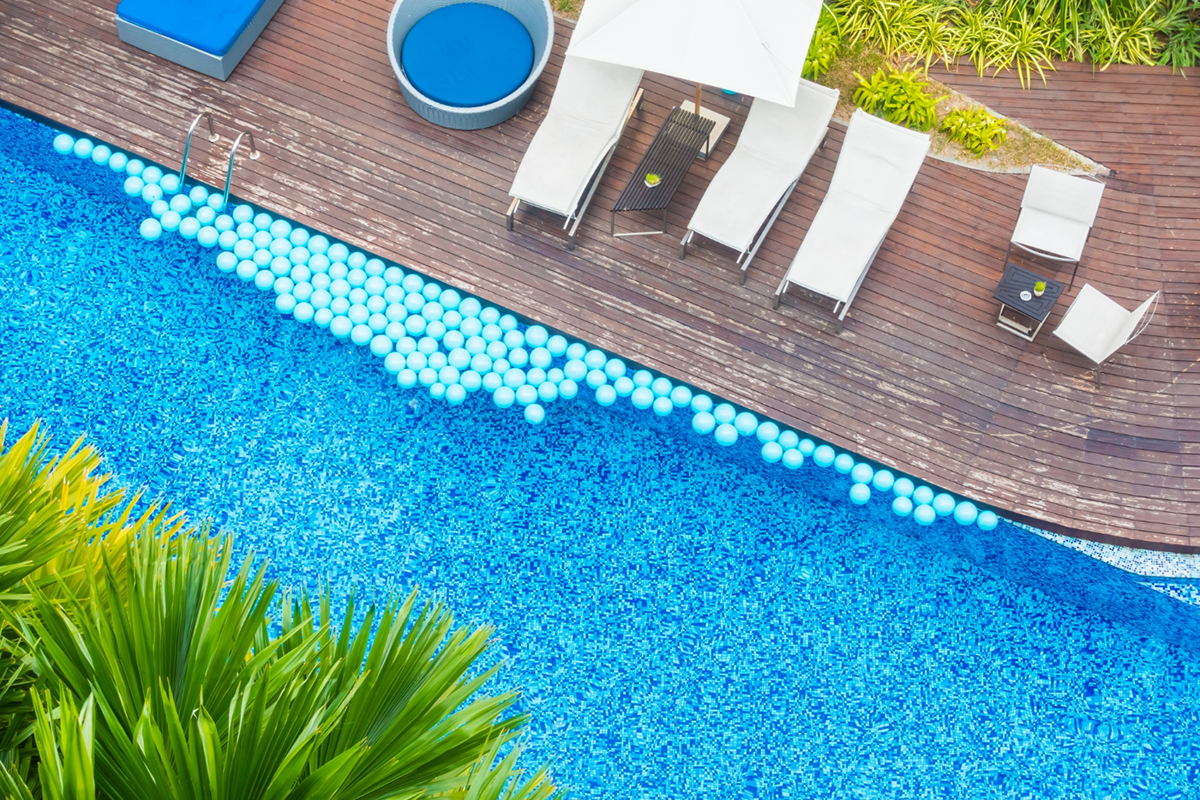
If you’re looking to spruce up your poolscape, pool resurfacing is the way to go. This process helps restore your pool back to its former glory and make it look as good as new. To get started, you will need to hire a professional pool resurfacing company in Orlando that can assess the condition of your pool and provide you with an accurate timeline for completing the job. Here are some steps and tips for getting your pool resurfaced in Orlando.
Steps for Pool Resurfacing
- Assess the Condition of Your Pool
Before you start the process, it’s important to assess the condition of your existing pool. This includes checking for cracks or other damage that may have occurred over time. It’s also important to determine if any repairs need to be done before starting the resurfacing process. This can help you get an accurate timeline and cost estimate from your contractor.
- Select Your Materials
Once you have assessed the condition of your existing pool, it’s time to select materials for the resurfacing process. Most companies in Orlando offer a range of options when it comes to materials, such as tile, plaster, or quartzite aggregate. You should consider factors like durability and maintenance requirements when selecting materials for your project.
- Remove Existing Surface
After selecting materials, it’s time to remove any existing surface material from the pool area so that a new one can be installed. Depending on what type of surface material was used previously (plaster versus tile), this step may take several days or weeks depending on how extensive the removal process needs to be.
- Prepare Pool For Installation
Once all existing surface material has been removed from the area, it’s time to prepare the area for installation of new materials. This may include cleaning, patching cracks or other damage, and applying a protective coating before beginning installation.
- Install New Surface Material
Once all of these preparations have been made, it’s finally time to install the new surface material! This step requires careful attention from trained professionals who know how long each layer needs to dry before moving onto another layer in order for everything to adhere correctly and last a long time without cracking or peeling off prematurely.
- Clean-up & Final Inspection
After all layers have been applied and dried properly, you can move onto doing clean-up before giving everything one final inspection. Removing debris from around the perimeter is important because it ensures that water won't build up around this area which could lead to mold growth later down the line. Doing a walk around with a flashlight is also recommended so that small imperfections can be spotted easily and addressed quickly if necessary. Finally, make sure there are no sharp edges near where people might walk as they enter or exit their pools after resurfacing is complete!
Renovating your old swimming pool by resurfacing is an excellent way of reviving its beauty while ensuring its longevity at the same time! When done right, this entire process usually takes anywhere between two weeks – four weeks depending upon how extensive structural changes were required prior. Make sure you find experienced professionals who understand how long each layer needs drying before moving on with another layer. With careful planning and preparation, you can guarantee yourself years worth of enjoyment with this newly renovated masterpiece!
All Phase Pool Remodeling is one of Florida's leading residential /commercial pool, spa and deck remodeling and renovation specialist since 1993 serving all of Northeast, East and Central Florida! Contact our Pool Experts today to schedule a free consultation.